Most of the times the users face the slowdown of their computer devices due to the collection of the unused files settling inside the storage which is of no use at all. Now you can Automatically Clean Windows of Unused Files using the inbuilt feature of windows to delete unnecessary files from your computer. So have a look at complete guide discussedbelow to proceed.
Unused or residual files do resist on every system whether it is running on the Windows or alternate platforms. Most of the times the users face the slowdown of their computer devices due to the collection of the unused files settling inside the storage which is of no use at all. Basically, many of the users are already aware of this thing and hence they tend to delete those files and data inside their system. This requires the hard work to find and thereafter delete the files.
This work can be done by the lite users daily but it is really hard and time-consuming for the heavy users to keep on deleting the unused files from the windows. The whole process can be made easier if the activity would be made to do automatically. Fortunately, there is a way out there on the windows by which the unused files can be automatically cleaned. Here in this article, we have written all about the method. If you are interested to know about the method then please read the below-given information till the end!
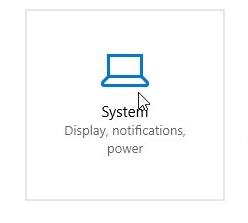
Step 1. The method is based on the usage of Storage Sense that is already there on the Windows. This feature could not be enabled on your Windows so you need to make it up. Simply click on the Windows icon on the desktop on the Windows 10 and then click on the small gear icon made for the Settings. This will then launch a screen comprising of various options. From all the options appearing on the screen, you need to select the System tab.

Step 3. Select the Storage sense toggle and set it to enable the function. Soon after you do it you will be able to change various preferences for the same, the options will appear on the screen. Actually, you can set the feature to select the types of unused files which are to be deleted, and how are those files to be deleted, either temporary or permanently!

Step 4. You can set the Temporary files from the Recycle bin to delete if they are not in use. The files standing for more than 30 days in recycle bin can also be set to delete through the Storage sense options. Means that you can actually get totally free once you enable and set up the feature!


No comments:
Post a Comment